Sell anything with payment Links
Use the Radom Payment Link, a configurable pre-built checkout page, to sell your products and services to anyone, anywhere.
If you don't have a cryptocurrency wallet, get started with creating one.
The easiest way to start accepting payments in crypto using Radom is by creating a Payment Link.
When your products are purchased in a Radom Payment Link, price quotes are generated using widely used APIs to determine the price in the tokens chosen by the customer to match the prices of the payment link products in their corresponding currencies. Price quotes are regenerated every four minutes to ensure an accurate token amount is calculated at the time of purchase. The Radom Payment Link will automatically trigger all necessary smart contract transactions to fulfill the purchase of your products, including creating Radom Smart Contract Subscriptions if applicable.
With the Radom Payment Link and any other Radom Integrations, all of Radom's features are automatically available for you to monitor and process purchases of your products, including Dashboard visualizations, SDKs, and webhooks.
Create a payment link (Dashboard)
Using the Radom Dashboard is the easiest way to create and manage your payment links. Products in a Radom Payment Link may be purchased any number of times by any customer.
To create a payment link in the Dashboard:
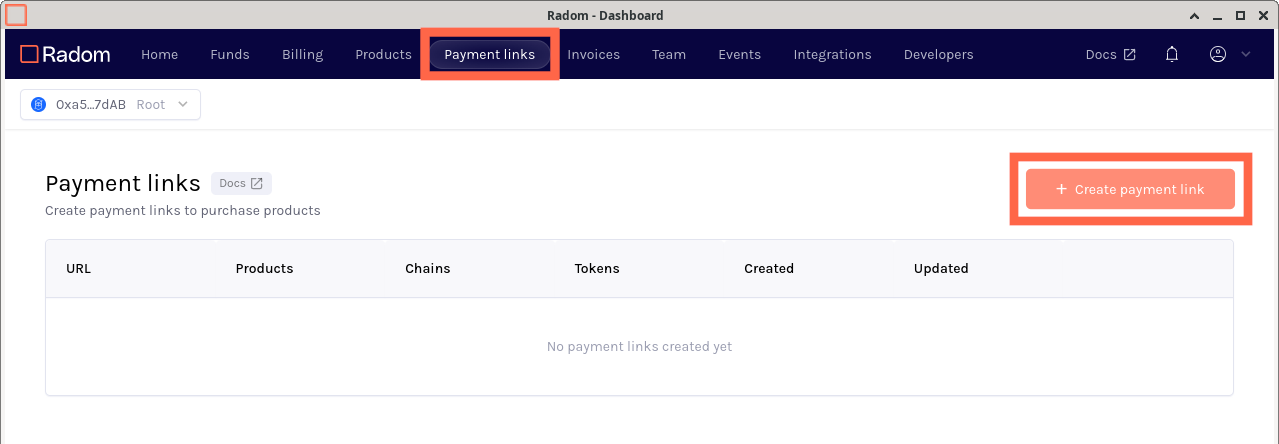
Navigate to and open the Payment link form
- Go to the Payment link tab.
- Click +Create payment link.
Configure your payment link
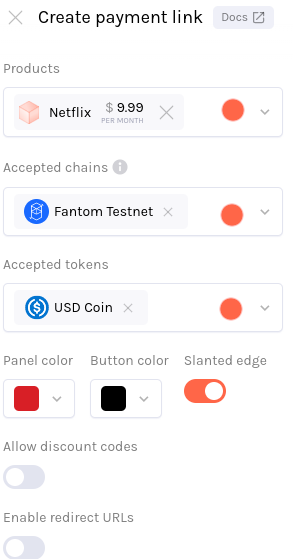
- Select the products you would like to make available for purchase.
Check out the Subscriptions with crypto guide to learn how to create a subscription payment product.
| If you haven't already made a Product, you can create one within the Create payment link form by clicking + Create new product. | 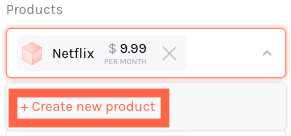 |
|---|
- Select the chain(s) you would like to receive payments on.
- Select payment token(s) you would like to make available for payment.
If you would like default blockchain(s) and cryptocurrency payment token(s) to be automatically added when creating Radom integrations in the Dashboard, you can configure them in your seller profile settings.
Radom provides testnet tokens for all supported tokens and chains available to try out purchasing your subscription.
- (Optional) Use the Panel color select tool to customize the Product title panel background color.
- (Optional) Use the Button color select tool to customize the payment button color.
- (Optional) Toggle Slanted edge to customize the style of the payment link.
Check out the preview panel to the right to preview the appearance of your payment link.
- (Optional) Toggle Allow discount codes to allow Radom discount codes for your product to be applied in your payment link.
- (Optional) Toggle Enable redirect URLs to add success (page to navigate to on successful payments) and/or cancel (page to navigate to when a payment link purchase is aborted) URL(s).
Create a payment link (API)
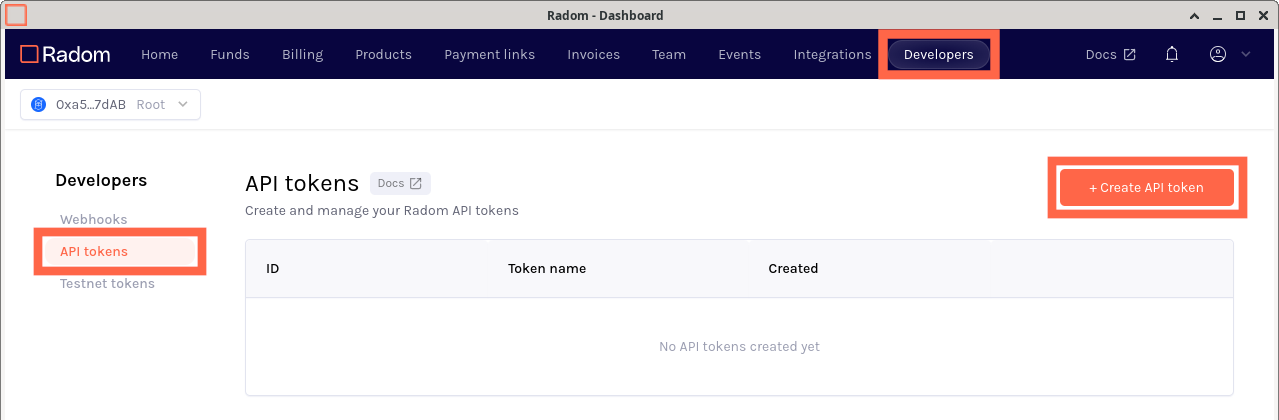
Creating an API token
In order to create a product for use in Radom integrations using Radom API directly, first go to the Developer API tokens page in the Radom Dashboard and generate an API token. Make sure to store this somewhere securely as it can only be viewed once after creation, lost API tokens cannot be recovered and a new one will need to be generated.
Using the Payment Links API
Refer to the Payment Links Reference for information on endpoints to create and update.
- Create a payment link
- Retrieve a payment link
- Update a payment link
- Delete a payment link
- List all Radom payment links
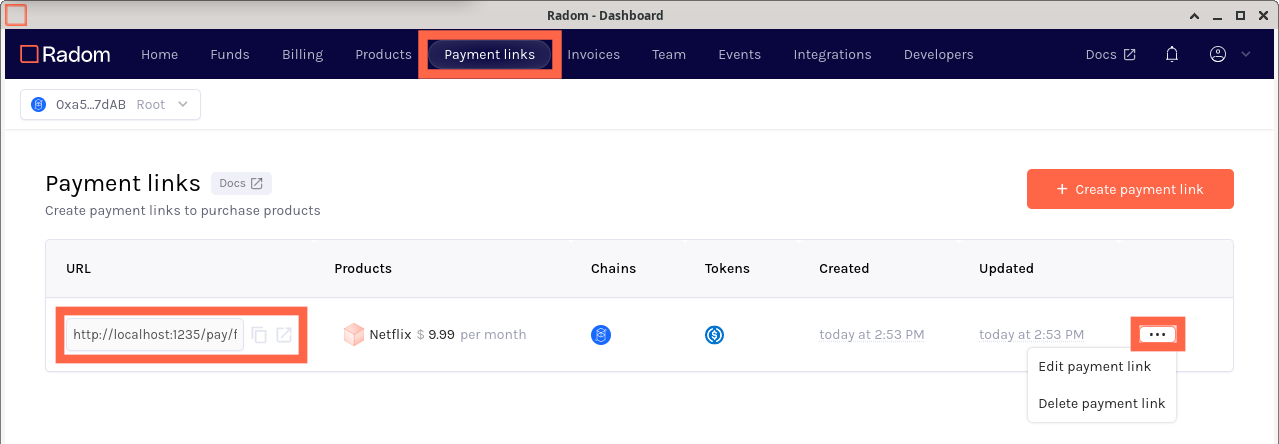
View and manage payment links
After creating your payment link, you can find it listed in the Payment links tab. For each of your payment links you have the option to edit or delete it, and buttons are available to copy or open the payment link URL.
If you have already shared your payment link and you are modifying the products within it, you may want to consider deleting and creating a new payment link.